Well it isn’t really new — just new for me.
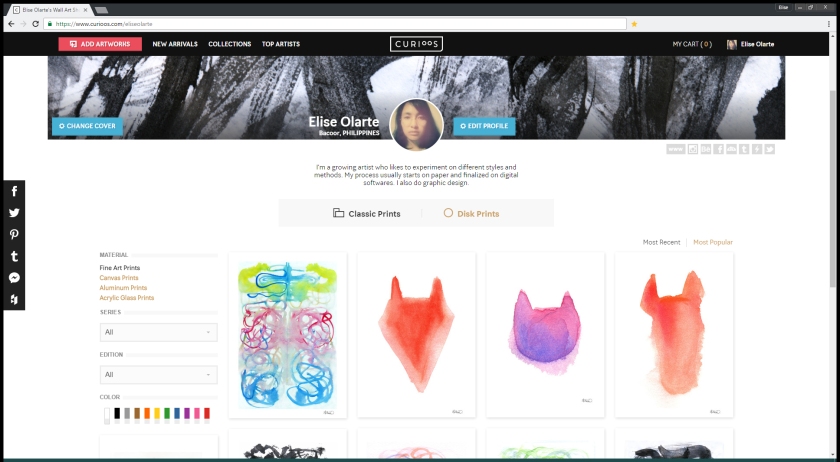
I really wanted to sell a Die-Cut wall hanging on Curioos, but it’s a submission type thing, they have to approve the artwork before it gets posted. Technical stuff.
I tried to submit once, it didn’t make it. 😛
So I am going to try again.
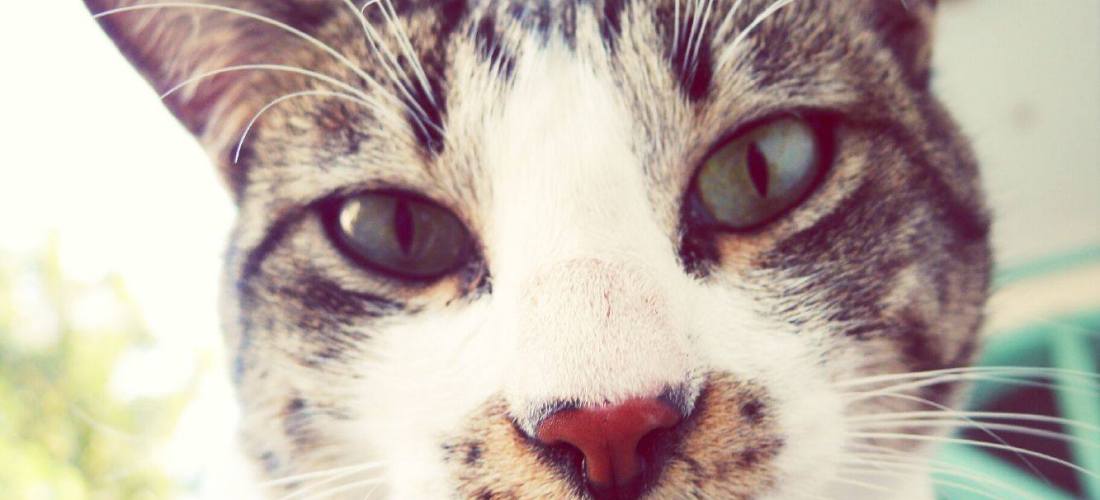
I’ve been trying to clean this piece every free time I get:
(The screenshots that I’m including here were taken after the whole editing process is done)
and so I would do the things I know to do it:
- adjust colors
- adjust exposure, gamma, etc
- adjust curves
- erase/patch up the mess that’s not supposed to be there
- erase the background and make a separate layer underneath for a cleaner background
But then I had to “create a precise path”* in my artwork and cut it out.
So I did what I normally do. I use the pen tool to make a path that traces my artwork.
Because it is really painstaking to do precisely, I decided to search for other ways. . .
It turns out you can actually convert your current selection into a work path.
So I just go to the Select menu, choose Load Selection, click OK, and then, while the selection is active and using any of the selection tools (marquee tools, lasso tool, magic wand tool), right-click on the selection and choose Make Work Path and then choose Tolerance value. See details of the process here.
Voila! My very bumpy-edged selection became a very complicated work path!

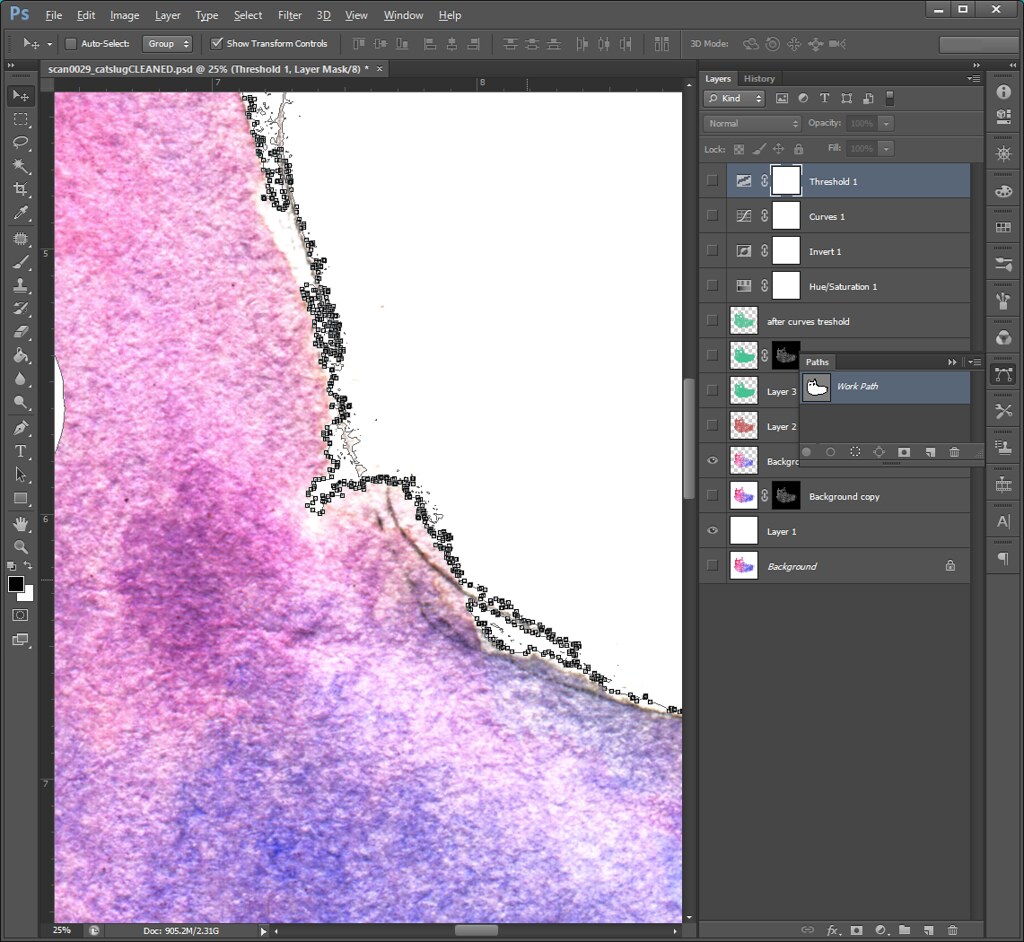
see how complicated this is: too many anchor points. definitely need to adjust still.
You can see the work path in the Paths window. You can also rename the path for organizational purposes.
Then I just delete some paths or extra shapes that got made through the process that I don’t need to include. I need to adjust some too, but I’d do that next time. It will still be a bit painstaking but this is a lot better than tracing your image manually. When I was tracing the image, I think it took me a lot of hours and I’m still not done yet.
One day I looked for ways to make “whites”** transparent because I’ve made an account for TeePublic and the art that they require were transparent pngs.
I also wondered how Society6 can make jpgs transparent in their shirt mockups.
After searching the net, I found that you have to use adjustment layers and make a selection before the artwork becomes transparent.
I have not used or encountered adjustment layers before. We were only taught very very basic Photoshop back in college and that was a very long time ago. Most of the things I’ve learned I got from the internet and friends.
This one is new to me although I have seen the term under the layer menu more than once.
So I tried it with this artwork.
Step One,
Add a Saturation/Hue adjustment layer.
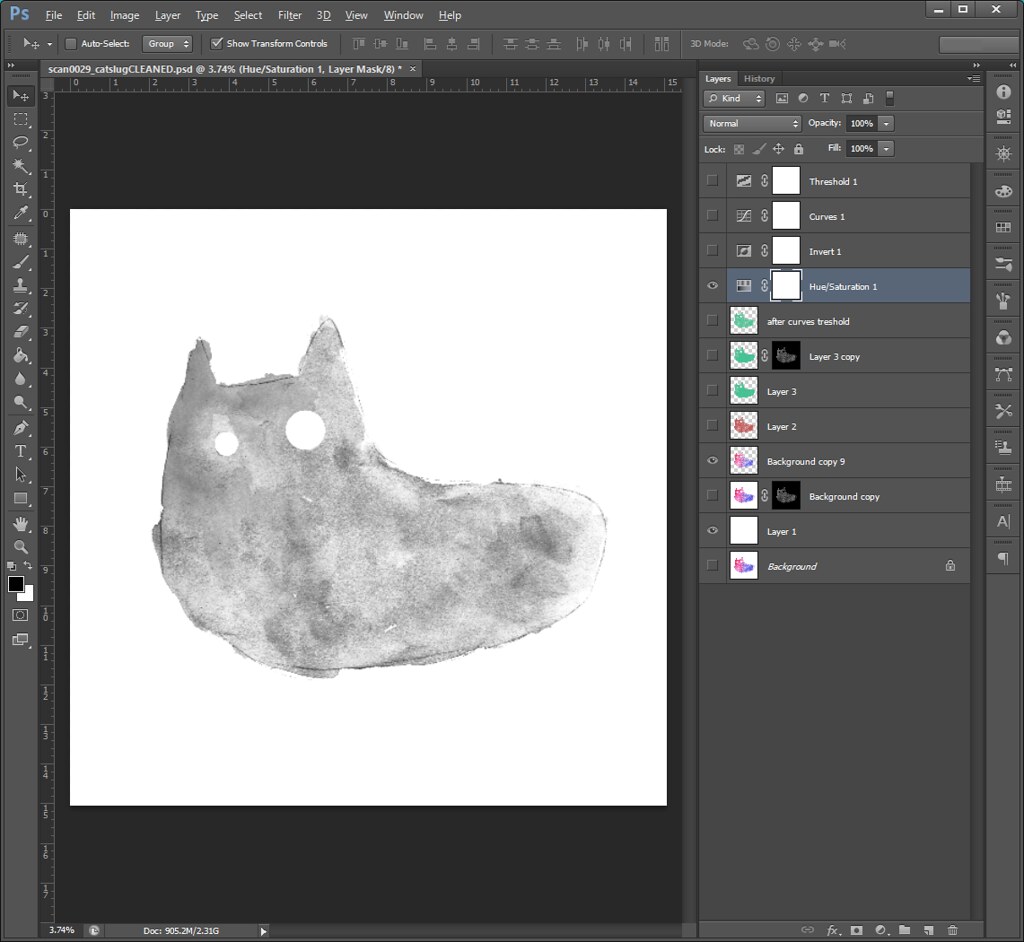
Hue/Saturation adjustment layer
Step Two,
Add Invert adjustment layer and then a Curves adjustment layer.
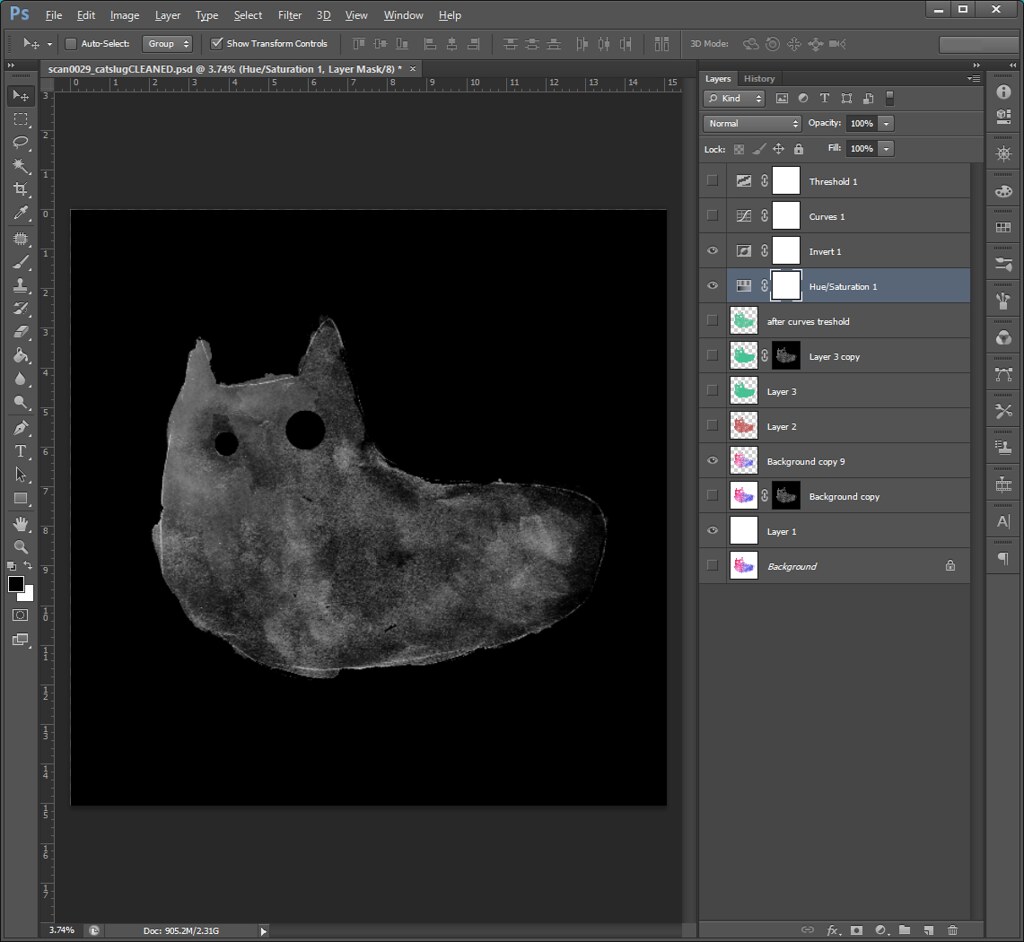
Invert adjustment layer
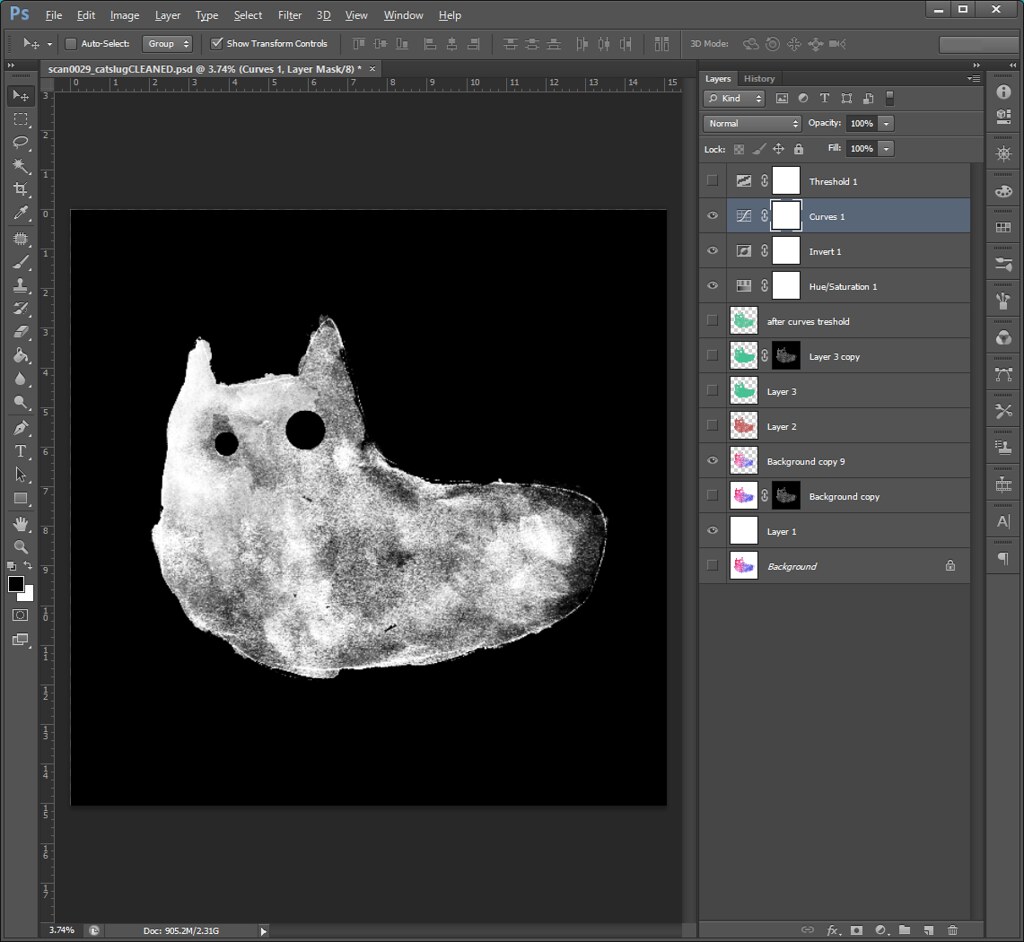
Curves adjustment layer
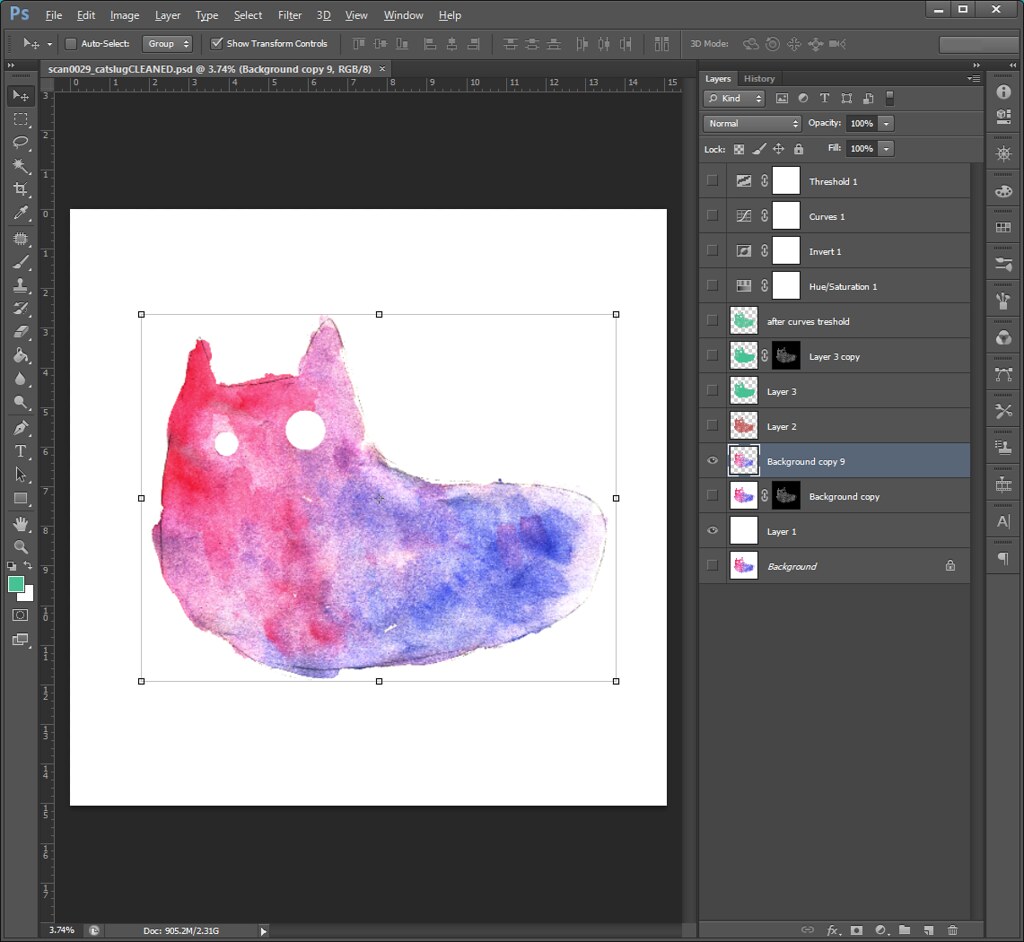
Step Three,
CTRL + A to select everything and CTRL + SHIFT + C to copy. Add a layer mask to your original image, ALT + Click the layer mask and then paste what you copied in there.
The final product will look like this:

More details here. . . because this really not a tutorial, I am just sharing what I have learned. . . plus I am really sleepy. haha. The actual tutorial is in the link.
I hope that, after I finish cleaning up my work, this piece will finally get accepted for Die Cut prints. *crossing my fingers*
*says the CURIOOS Die-Cut Prints Submission Program guide.
**I mean the background. Only applicable when the background is white or otherwise extremely light compared to the artwork.
References: